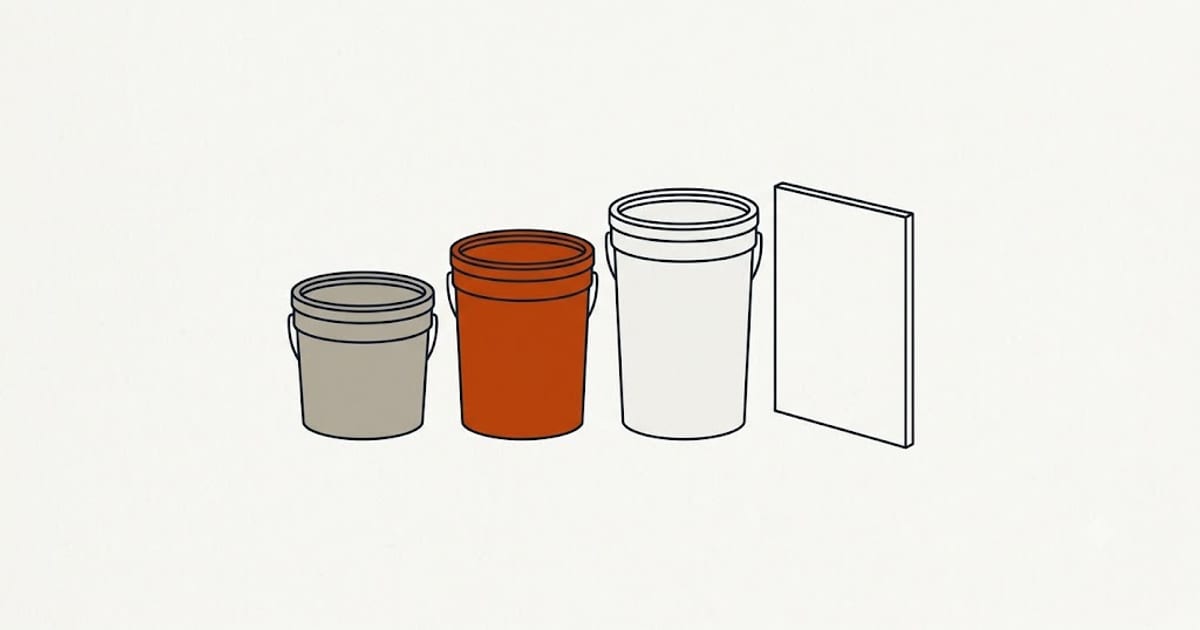
Compound scales with board area, not joint length. The rule of thumb that has held up:
A 4.5 gallon (61 lb) bucket covers roughly 500 ft² of board at Level 4.
| Finish level | Per 1,000 ft² of board |
|---|---|
| Level 3 (two coats) | ~1.6 buckets |
| Level 4 (three coats) | ~2 buckets |
| Level 5 (three coats + skim) | ~2.8 buckets |
A 12 × 14 room with 8 ft ceilings is around 584 ft² of board — so one and a bit buckets at Level 4, and closer to two at Level 5. Buy two; the surplus keeps for months sealed and there is nothing worse than running out mid-coat.
Which type for which coat
| Type | Use | Why |
|---|---|---|
| All-purpose | Taping (first coat), corner bead | Strongest bond, holds tape |
| Lightweight all-purpose | Second and third coats | Sands far more easily |
| Topping | Final coat, skim coats | Smoothest, weakest — never for tape |
| Setting-type ("hot mud") | Deep fills, patches, same-day work | Hardens chemically, does not shrink much |
Sanding is where the hours go. Lightweight compound for the finish coats is the single change that most reduces the labor on a DIY job, and it costs the same.
Never tape with topping compound. It has almost no bond strength and the tape will lift at the edges within a year.
Setting-type is a different material
Bags marked 20, 45, 90 are minutes until it hardens. It sets by chemical reaction, not evaporation, so it works in a cold garage and in humid weather where ready-mix will not dry.
Two things to know:
- It hardens in the pan on the same clock. Mix only what you can use.
- It is much harder to sand than ready-mix. Use it for the taping coat and fills, then switch to lightweight for the finish coats.
Its real value is compressing a three-day job into one: 20-minute mud lets you tape in the morning and second-coat after lunch.
Tape
Roughly 380 linear feet of tape per 1,000 ft² of board. A 500 ft roll does a typical room with some to spare.
Paper tape is stronger and the correct choice for inside corners — it folds on a crease and stays put. Mesh tape is self-adhesive and easier for a beginner on flat joints, but it must be embedded in setting-type compound, not ready-mix, or the joint cracks.
Mesh on inside corners does not work. Paper, always — the full rule and why joints crack.
Three coats means three days
Ready-mix compound dries by evaporation, and each coat needs to be fully dry before the next — typically overnight, longer in a cold or humid room.
Coating over damp compound traps moisture, and the joint shrinks and cracks weeks later, after the paint. This is the most common reason a DIY finish fails, and the fix is patience rather than skill.
Setting-type compound is the way to compress the schedule if the timeline is fixed.
Thin coats, wide
Each coat goes on thinner and wider than the one before: roughly 5 inches for the tape coat, 8 for the second, 12 for the third. That is what "feathering" means, and it is why a butt joint needs 18 inches or more each way — there is no recess to hide it in.
Thick coats shrink, crack and need heavy sanding. Three thin coats take less total time than two thick ones plus the sanding they force.
Buy against your sheet count
Compound, tape, screws and corner bead all scale off the same board area — work out the sheet count first, and settle the finish level before ordering, because that alone moves the compound figure by 40%.