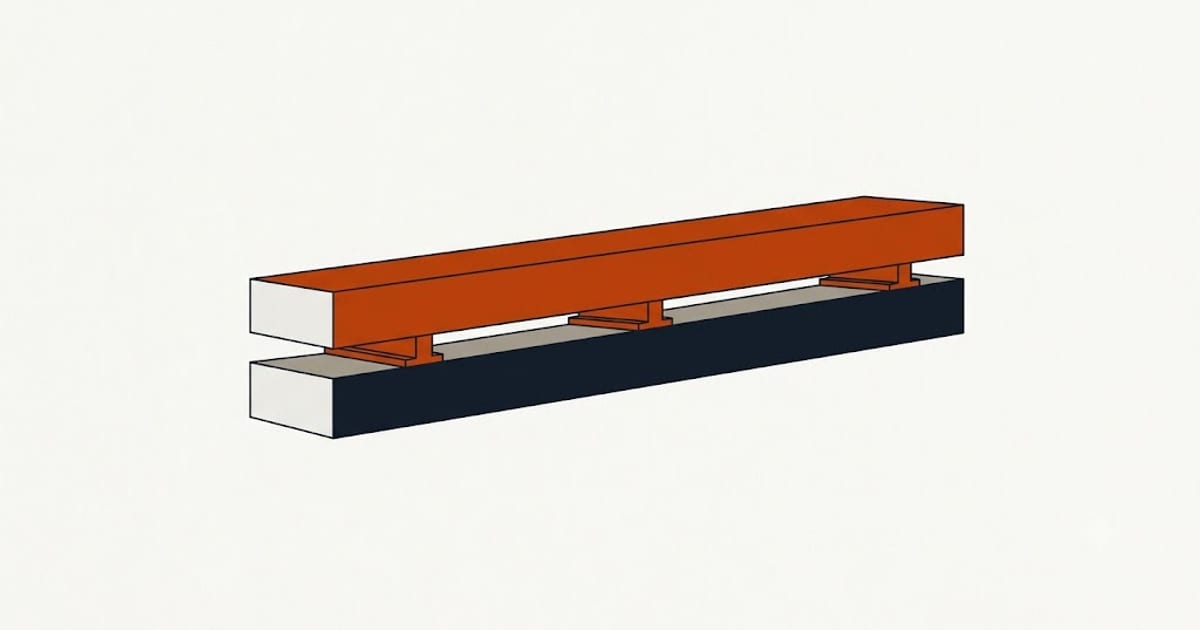
Sound crosses a wall or ceiling three ways: through the air in gaps, through the cavity, and through the structure itself as vibration. Insulation handles the cavity. Sealing handles the gaps. Nothing handles structure-borne sound except separating the two sides.
Resilient channel is the cheapest way to do that separation.
What it does
A thin formed steel channel is screwed across the framing. The drywall is then screwed to the channel only, never to the framing. The drywall now hangs on a springy metal element instead of being rigidly attached to the joists, and vibration reaching the framing cannot pass directly into the board.
Done correctly it adds a meaningful improvement in sound transmission class over the same assembly attached directly.
The failure that ruins it
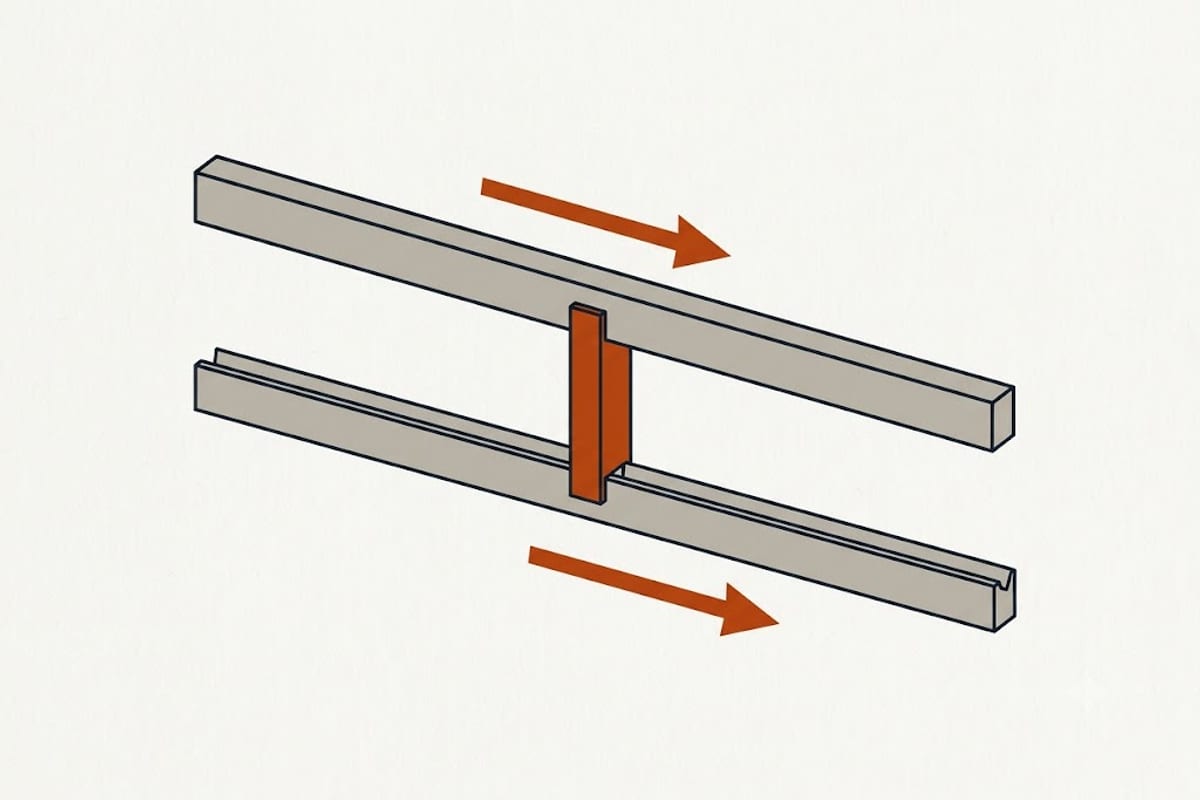
One screw that goes through the channel and into the joist behind it undoes the decoupling. Not for that spot — for a large area around it, because the rigid path is restored.
Screws must be short enough that they cannot reach the framing, and they must land on the channel's screw flange rather than anywhere else on the profile. On a ceiling, working overhead, at speed, this is exactly the discipline that slips.
The result is invisible. The ceiling looks identical, the finish is the same, and the assembly performs like ordinary drywall. Nobody discovers it until the room is finished and the sound is unchanged.
Marking the joist locations on the floor before boarding, and using a screw length that physically cannot bridge the gap, are the two habits that prevent it.
The other common errors
Channel installed upside down. The profile is asymmetric and it must be oriented so the flange is positioned as the manufacturer specifies. Reversed, it is stiffer and does far less.
Spacing too wide, which lets the board sag and lets it contact the framing between channels.
Blocking the edges. Drywall touching the perimeter framing, or touching an adjacent wall, restores the rigid path around the edges. The board should be held slightly clear and the gap sealed with acoustic sealant, which stays flexible.
Anything rigid crossing the gap — a recessed light housing screwed to a joist, a duct boot, a plumbing bracket. Each one is a bridge.
What else to combine it with
Decoupling is one of four levers, and it works best with the others rather than alone:
Mass — a second layer of drywall, or a heavier board. Sound reduction rises with weight.
Damping — a viscoelastic compound between two layers of board, which converts vibration to heat. This is the most effective single addition on a retrofit.
Absorption — insulation in the cavity, which handles the airborne path.
Sealing — acoustic sealant at every edge and penetration. Sound follows air, and an unsealed perimeter defeats a great deal of expensive work.
The alternative that is harder to get wrong
Sound isolation clips with hat channel cost more and are considerably more forgiving. The clip has a rubber isolator and the geometry makes an accidental rigid connection much less likely.
On a project where the work is being done once and the sound performance actually matters — a home theatre, a shared wall, a bedroom under a living room — the clip system is worth the difference simply because the failure mode is so much less likely.
Whether to use it at all
If the ceiling is coming down anyway, resilient channel is inexpensive and worth doing carefully. If it is not, adding a second layer of board with a damping compound between achieves a comparable improvement without touching the existing ceiling, and it is far harder to install wrongly.