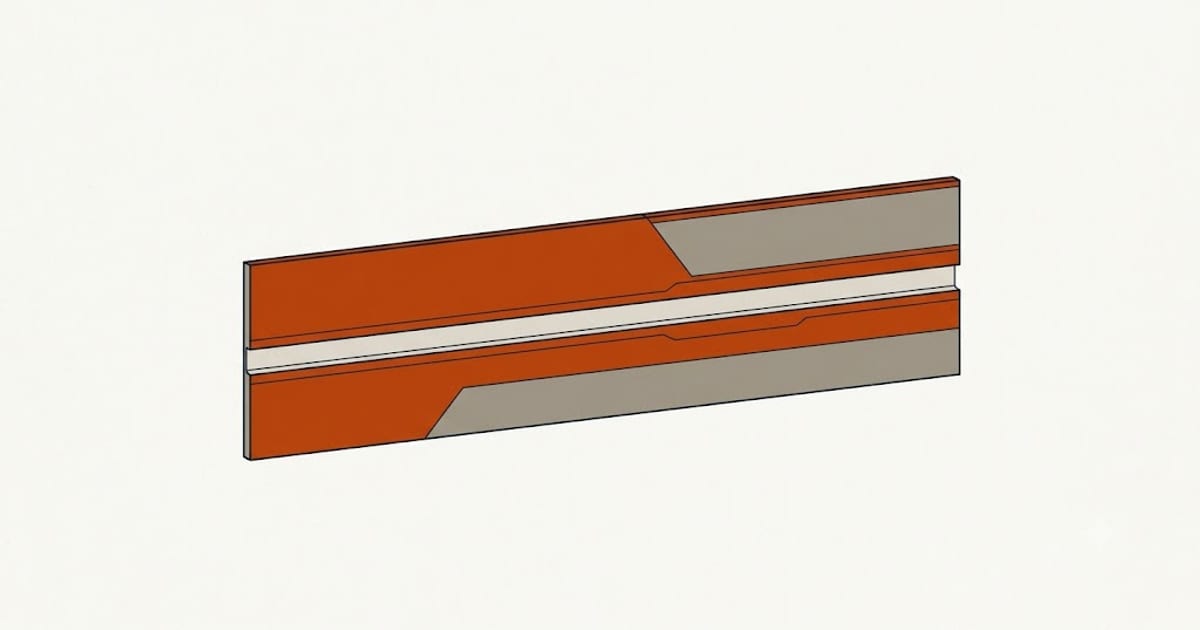
A seam that was invisible under primer and shows under paint is a common and dispiriting result. There are four causes, they look similar under normal light, and only one of them is fixed by sanding.
Turn off the room lights and hold a work light flat against the wall, shining along it. Raking light shows which problem you have.
1. Feathering too narrow — the most common by far
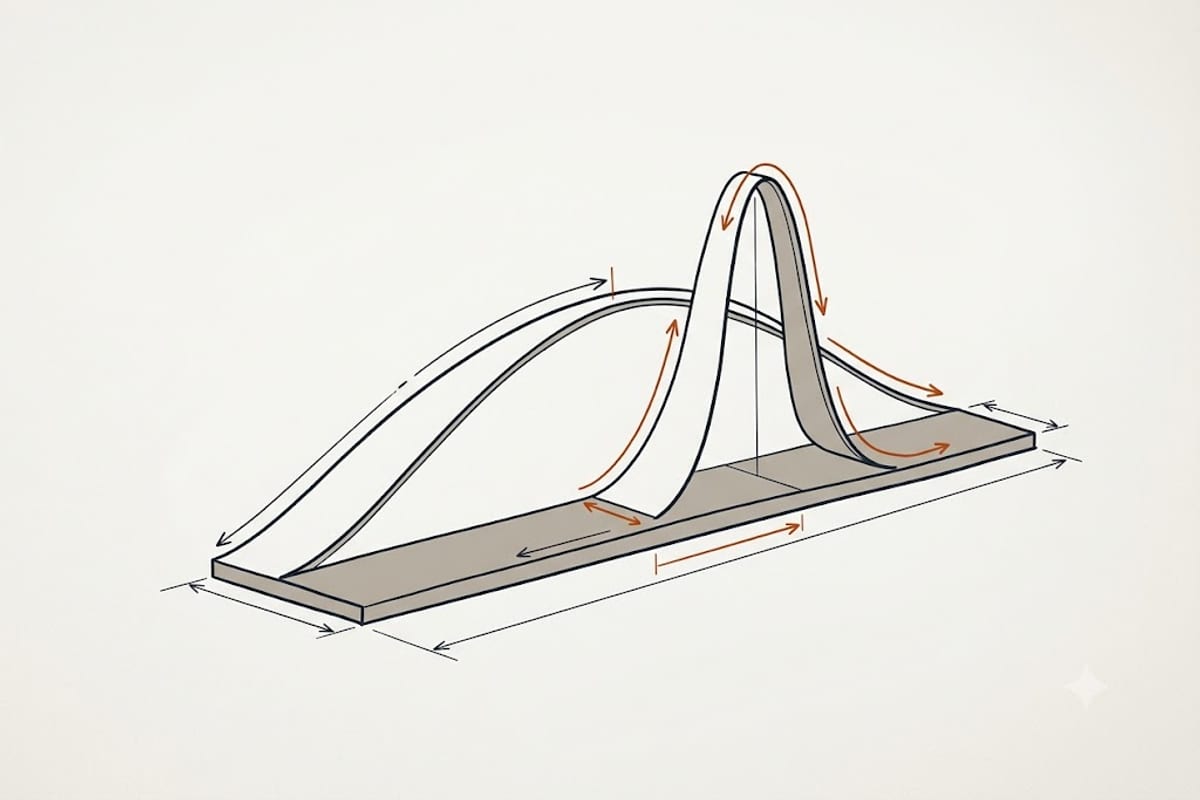
A taped joint is a shallow mound. The eye does not detect the height; it detects the rate of change. A joint feathered over 8 inches has an edge the eye can find. The same amount of compound spread over 20 inches does not.
This is why professional finishers use progressively wider knives: 6 inch for the tape coat, 10 for the second, 12 or wider for the third. Each coat extends further than the last.
Adding more compound to the centre makes it worse. The fix is to spread wide — a very thin coat with a 12 inch or wider knife, extending well past the existing work on both sides, then sand it back.
2. Sheen difference — the seam is flat but it is not the same surface
Joint compound and paper-faced drywall absorb paint differently. Compound is more porous, so it takes more paint and dries flatter; the paper takes less and stays slightly glossier.
Under a flat paint nobody sees it. Under eggshell, satin or anything with sheen, and especially under raking light from a window, the difference is obvious even though the surface is perfectly level.
The fix is primer, not compound. A dedicated drywall primer-sealer equalises the porosity. Where the sheen is high or the light is severe, the real answer is a level 5 finish — a thin skim coat of compound over the entire surface, which makes the whole wall one material.
Painting new drywall with wall paint as its own primer is the single most common cause of this problem.
3. A genuine ridge
Compound built up above the surrounding surface, usually from too much material at the centre of the joint or from a butt joint that was not treated as one.
This one does sand out. Use a sanding sponge or pole sander, work along the length rather than across, and check with a straightedge or a wide knife held on edge.
Butt joints — where two factory edges do not meet, so there is no tapered recess — are the usual site. They need to be feathered much wider than a tapered joint, often 24 inches or more, or built up on a butt board so the joint sits in a recess of its own.
4. Framing, not finishing
If the seam follows a stud or a joist rather than the board edges, and if it appears seasonally, the framing is moving.
Common causes are green lumber drying, a truss lifting in winter, or a splice in the framing right at the joint. No amount of compound fixes it — it will crack again in the same place.
The remedy is at the framing stage: floating corners at truss uplift locations, or backing that allows the board to move independently.
The order to work in
- Raking light to see what is actually there
- If it is a ridge, sand it
- If it is a narrow feather, skim wider with a large knife, then sand
- Prime with a drywall primer-sealer, not with wall paint
- Look again under raking light before the topcoat
- If it still shows and the sheen is high, skim the whole wall — level 5
That last step feels excessive and is the only reliable answer under a satin finish in a room with a window at one end. Spot-fixing seams in that situation produces a wall of visible repairs instead of visible seams.